Setting Up a dedicated local development environment.
By Alex Stelmakh -
If you are making the first steps with PHP then you definetely will need some sort of local development environment to run code on your own machine without the need to push it to the remote server. While it is absolutely possible to work with remote server, it'll seriously slows down development process. In this article I'm going to show how to set up a LAMP stack which is acronim for Linux, Apache, MySQl and PHP. Although this configuration has some downsides such as the lack of isolation of dev sites but if you are just starting up and not going to work on multiple projects at once it may be a good alternative to the resource hungry and more complex tools as Vagrant or Docker. There is no doubt that for a serious development those tools are preferable and we'll get there in the forthcoming articles, but for now we are going to start with LAMP stack which nonetheless will give us a good starting point.
So let's get started.
Step one - Installing Apache Web Server
Open up a terminal with ctrl+alt+t shortcut and run the command:
$ sudo apt update
Then, install Apache with:
$ sudo apt install apache2
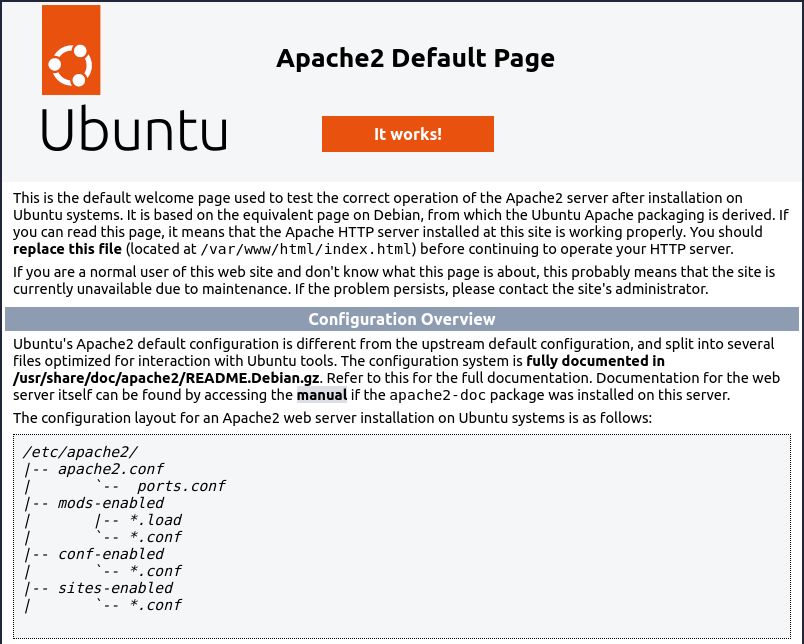
When the prompt arise hit Y to confirm installation. Now to verify that everything is installed properly enter to the browser local address of your newly installed server:
http://127.0.0.1/
Or just:
localhost
The output will contain all information to test correct operation of Apache2 server:
Step two - Installing MySQL
Now install database server MySQL:
$ sudo apt install mysql-server
By default MySQL and Apache will start automatically on every boot. If this is not what you want you could change that behavior. To check if the MySQL and Apache are up and running issue next commands:
$ sudo systemctl status mysql
$ sudo systemctl status apache2
I'm going to remove those processes from autostart:
$ sudo systemctl disable mysql
$ sudo systemctl disable apache2
Then on every boot if I want to work with those servises I'll need to start them like this:
$ sudo systemctl start mysql
$ sudo systemctl start apache2
It's up to you to leave it as is, and not bother yourself starting these processes manually, but for the sake of saving resources I prefer to not having them in autostart script, because single MySQL app takes around 300MB of RAM.
Log in to MySQL as root:
$ sudo mysql
List all users that present by default.
mysql> SELECT user, host FROM mysql.user;
It'll show us a bunch of default system user accounts:
Output:
+------------------+-----------+
| user             | host      |
+------------------+-----------+
| debian-sys-maint | localhost |
| mysql.infoschema | localhost |
| mysql.session    | localhost |
| mysql.sys        | localhost |
| root             | localhost |
+------------------+-----------+
Now we are able to create new users and give them only those PRIVILEGES that needed.
To exit from mysql type:
mysql> exit
Step 3 - Installing PHP
For installing PHP all we basically need is to install just PHP package. But to integrate our interpreter with Apache2 and MySQL we need two additional packages libapache2-mod-php and php-mysql.
These packages can be installed with:
$ sudo apt install php libapache2-mod-php php-mysql
As the installation is finished run the following command to verify your PHP version:
$ php -v
Output:
PHP 8.1.2 (cli) (built: Jun 13 2022 13:52:54) (NTS)
Copyright (c) The PHP Group
Zend Engine v4.1.2, Copyright (c) Zend Technologies
    with Zend OPcache v8.1.2, Copyright (c), by Zend Technologies
Now go to the default virtual host folder and create test PHP script:
$ cd /var/www/html
Create new folder:
$ sudo mkdir test
Open it and create test script:
$ cd test
$ sudo vim test.php
In VIM press i to activate INSERT mode and type the following:
<?php
phpinfo();
To exit from VIM first press ESC to exit from INSERT mode then :wq. This will save your file and exit from editor.
Now go to the address bar and enter: http://localhost/test/test.php.
You should see something like this:
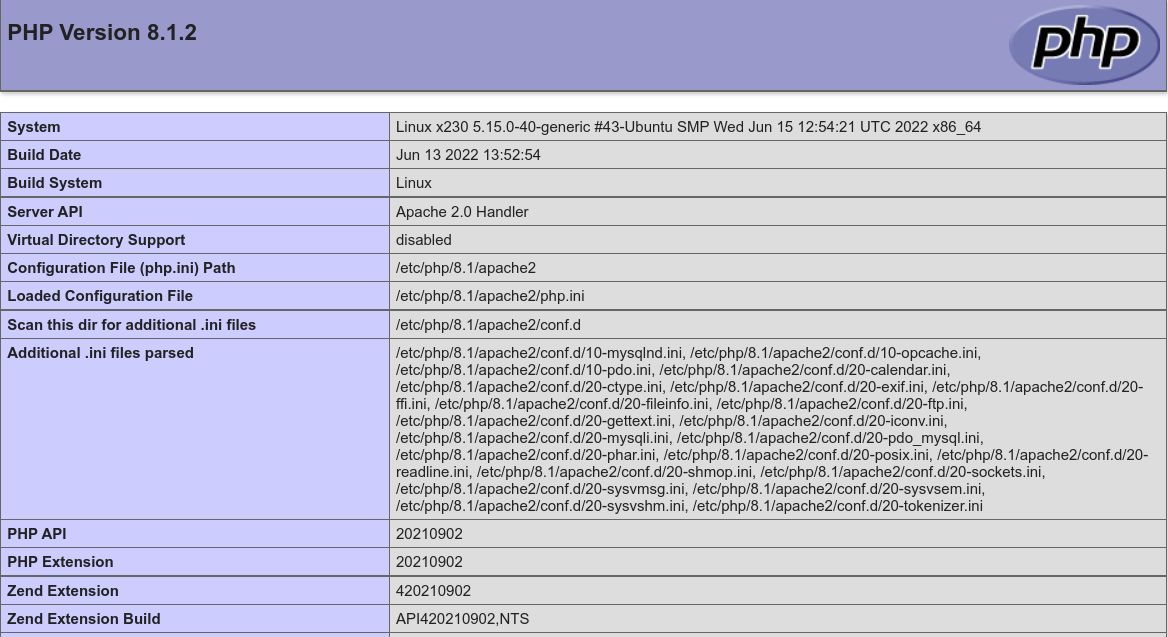
Thats it! Now we are able to write and execute code, see output in the browser and connect databases. Happy coding!